Success doesn’t come from brute force but from knowledge, and nowhere is this truer than in how to drill a hole in a rock. With the right tools and correct methods, even a tough job can be made simple, safe, and efficient. Sometimes, a good and reliable tool and correct drilling method can make complicated work easy. This guide aims to help you use the right methods when drilling into different stone types safely and efficiently.
Part 1: Pre-Work You Need to Know
Before any work begins, prepare your gear. The right tools prevent damage to the stone, while the right safety gear prevents damage to you.
First, Ensure Your Safety
Stone dust and flying chips are serious hazards. Never skip these:
- Safety Goggles: To protect your eyes from debris.
- Dust Mask: To prevent inhaling harmful silica dust.
- Protective Gloves: To improve your grip and protect your hands.
Second, Prepare the Tools You Need
The Drill: Your choice depends on the rock. If you’re unsure about the differences between common drilling tools, understanding an Impact Driver vs Drill is a great starting point.
- Rotary Hammer: Essential for drilling with carbide masonry bits into hard, solid rock like boulders. Its powerful hammering action breaks up the material. For extremely hard stone or when you need large-diameter holes, a water-cooled core drill with diamond bits is often the better choice.
- Variable Speed Drill: The best choice for fragile materials like tile or slate, and for use with all diamond-tipped bits. Its lack of impact prevents cracking and protects the bit.
The Drill Bit: This is critical. The principles of drilling with care apply to other materials, too. For example, the techniques are similar when you need to drill into concrete or learn how to drill into tile without cracking it.
- Diamond-Tipped Bit: The universal best choice for grinding. It creates smooth holes and works on all stone types, but must be used without the hammer function.
- Carbide-Tipped Masonry Bit: A good alternative for softer sedimentary rocks or for use with a rotary hammer on harder stones.
Key Accessories:
- Masking Tape: To prevent the drill bit from “walking” on smooth surfaces.
- Spray Bottle with Water: Your cooling system to prevent overheating. For thick, hard crystalline rocks, a continuous water supply or a cooling ring is often more effective than just spraying.
- Drilling Guide/Jig: (Optional but recommended) For perfectly straight, professional holes.
Third, Other Work to Prepare
A few minutes of prep work is the difference between a clean hole and a cracked stone.
- Prep Your Starting Point: On smooth surfaces, a drill bit will skid. Place an “X” of masking tape over your mark to give the bit traction.
- Read the Stone’s Surface: Look for tiny hairline cracks or large fossil-like patterns. These are natural weak points. Mark your hole away from them.
- Respect the Edges: The edges are the most fragile part of any stone tile or slab. Create a “no-drill zone” by keeping your hole at least 8-10mm (3/8 inch) away from any edge.
Fourth, Support Your Workpiece
If drilling an uninstalled tile, place it on a solid piece of scrap wood. This provides a firm backing and prevents it from snapping under pressure.
Part 2: Step-by-Step Drilling Techniques by Rock Type
If you’ve ever wondered how to drill a hole in a rock without cracks, chips, or broken bits, the answer lies in matching the drill, bit, and cooling method to the type of stone. Here is the core of the operation. Match your technique to the material.
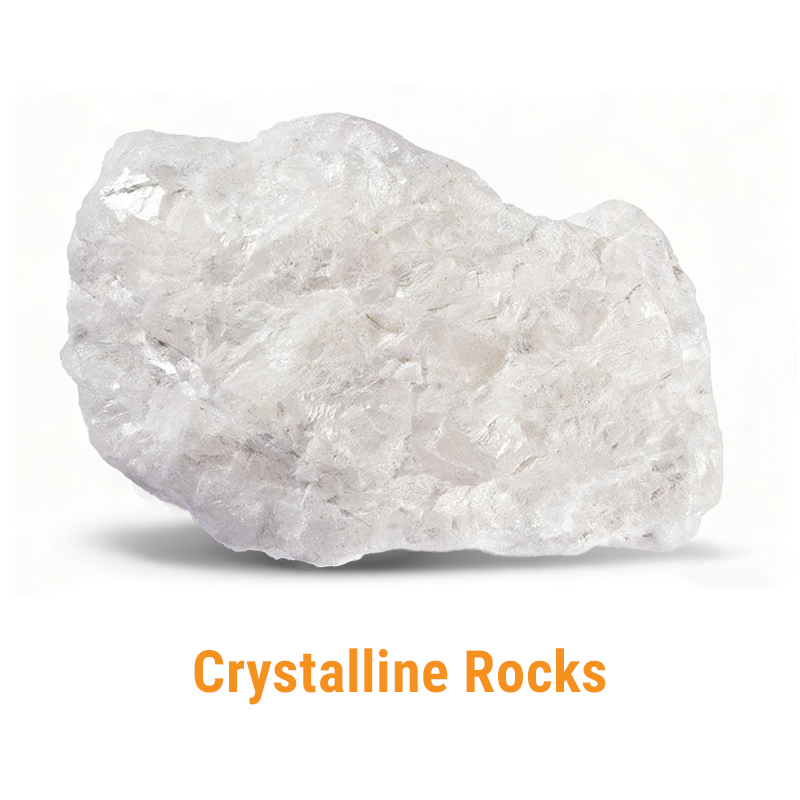
Hard, Crystalline Rocks
Drilling these rocks is a battle of endurance. Success depends on choosing the right tool combination.
Method A: For Precision & Clean Edges: Variable-Speed Drill + Diamond Core Bit
- Hammer Function OFF: This is the absolute golden rule. Double-check that your drill is set to “drill-only” mode. Any hammering will instantly destroy a diamond bit.
- Cool Continuously: Heat is the enemy. Use a spray bottle or a slow-running hose to direct a constant stream of water into the hole as you drill. This cools the bit and flushes out abrasive dust.
- Apply Steady Pressure: Let the weight of the drill do the work. Use firm, consistent pressure to allow the bit to grind away the material. Think of it as polishing a hole, not forcing it.
- Use a Pilot Hole (for holes > 6mm): To prevent the larger bit from wandering, first drill a shallow pilot hole with a smaller diamond bit to create a starting divot.
Method B: For Speed & Efficiency: Rotary Hammer + Carbide-Tipped Masonry Bit
- Hammer Function ON: Set your rotary hammer to “hammer drill” mode. This method relies entirely on the pulverizing action of the hammer blows.
- Grip Firmly & Apply Pressure: This method requires you to apply significant forward pressure to ensure the hammer blows are effective. Brace the drill securely.
- Clear Dust Frequently: Drill for 15-20 seconds, then pull the bit out to clear dust and debris from the hole. This prevents the bit from binding and overheating.
- Start Slow: To create an accurate starting point, begin at a low speed. Once the bit has “bitten” into the rock, you can increase the speed and pressure.

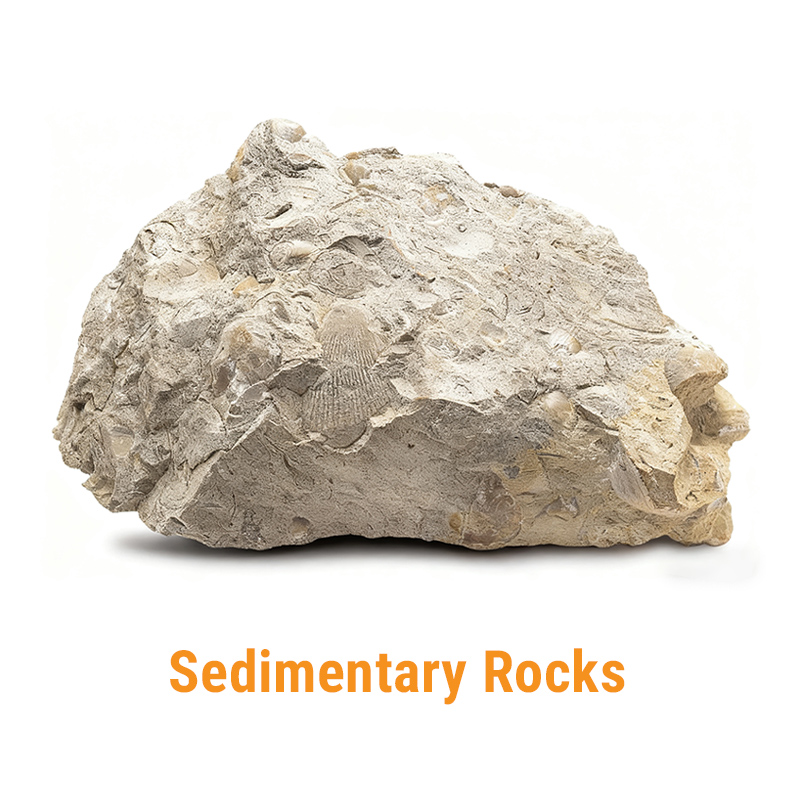
Softer, Sedimentary Rocks
These rocks are easier to penetrate but can crumble easily.
- Start Slow: Begin drilling at a very low speed to create a clean entry hole without chipping the surface.
- Clear Dust Frequently: For these rocks, wet drilling is mandatory for safety. Drill for 10-15 seconds at a time, using water to turn the hazardous dust into a manageable slurry. Periodically pull the bit out to clear this slurry from the hole. Never drill high-silica rock like sandstone dry.
- Ease Up at the Exit: As you feel the drill about to break through the other side, reduce your pressure to almost zero. This is the secret to preventing a large, messy “blowout” chunk from breaking off the back.

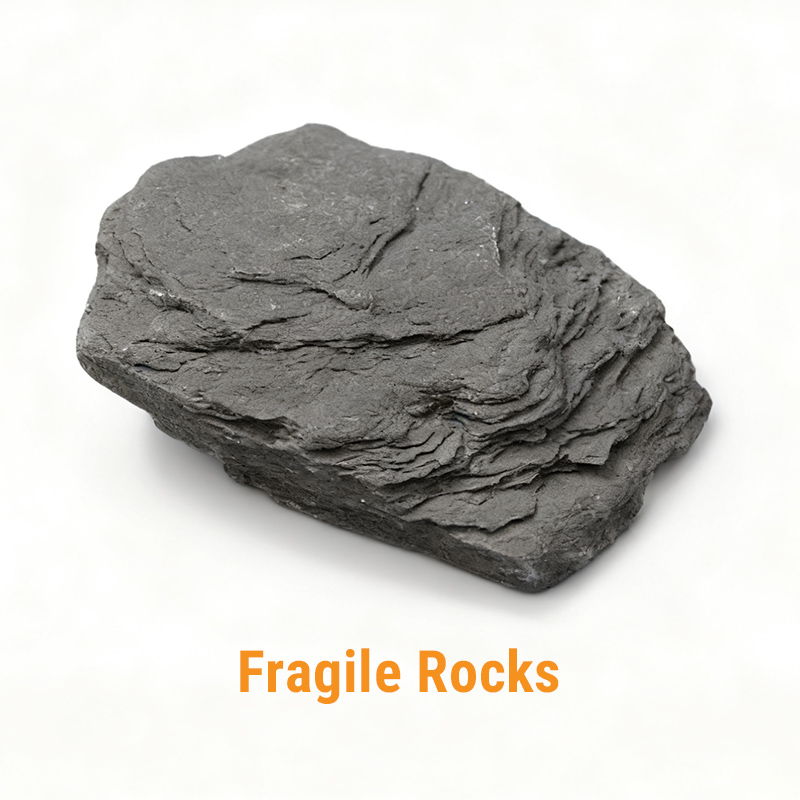
Layered, Fragile Rocks
This requires precision and finesse, not power.
- NO HAMMER FUNCTION: This is the golden rule. Ensure your drill is in “drill-only” mode. The vibration from a hammer function will shatter these materials.
- Use Light Pressure & Patience: Think of it as polishing a hole, not forcing it. Let the diamond bit gently grind its way through. This requires patience.
- Ensure Full Support: The scrap wood backing mentioned in the preparation phase is absolutely critical here to prevent the tile from flexing and cracking.

| Rock Type | Recommended Drill | Recommended Bit | Hammer Function | Key Technique |
|---|---|---|---|---|
| Hard Rocks | Rotary Hammer | Carbide Masonry | ON | Pulverizing with heavy pressure. |
| Variable Speed Drill | Diamond Core Bit | OFF | Grinding with steady pressure & water. | |
| Soft Rocks | Variable Speed Drill | Carbide or Diamond | OFF | Wet drilling is mandatory for safety. |
| Layered Rocks | Variable Speed Drill | Diamond Bit | OFF | Light pressure, slow grinding. |
How to Choose the Right Tools
Mastering how to drill a hole in a rock starts with choosing the right drill and bit. At FridayParts, we provide the quality accessories and replacement parts you need to get the job done right. At FridayParts, we know downtime costs money. That’s why we provide high-quality replacement parts to keep your tools working at their best.
- Need the perfect bit or guide? Check out our Drill Accessories—diamond-tipped bits for granite, or masonry bits for sandstone. The right tool makes every job smoother and faster.
- If your drill feels tired, explore our Drill Parts. A simple swap, like a new chuck or switch, can revive your tool and save you money.
- Finishing up assembly? A solid Wrench and Spanner set helps you tighten bolts and nuts with confidence.
Don’t let small breakdowns stop big projects. Visit FridayParts.com today for the complete catalog of reliable power tools to keep your tools running strong.
