

You’ve checked the battery and confirmed the charging system works, yet the battery goes dead whenever the machine sits idle. Chances are you have a hidden power drain. This issue is called parasitic draw, and it can be tough to track down. This guide explains what parasitic draw is, plus a simple step-by-step method to test for it using a multimeter.
What Is Parasitic Battery Drain?
Think of the electrical system like plumbing. The battery is the water tank, and wires are pipes. When you shut everything down, all taps should close. Parasitic battery drain acts like a tiny hidden leak. Some part or circuit keeps pulling power from the battery even after you turn off the ignition and leave.
Newer machines with onboard computers or digital clocks do use a tiny amount of power to save stored settings, and this is normal. But a broken component can draw far more current than it should. This extra unwanted power slowly drains your battery overnight or over a few days, leaving you without enough power to start the engine.
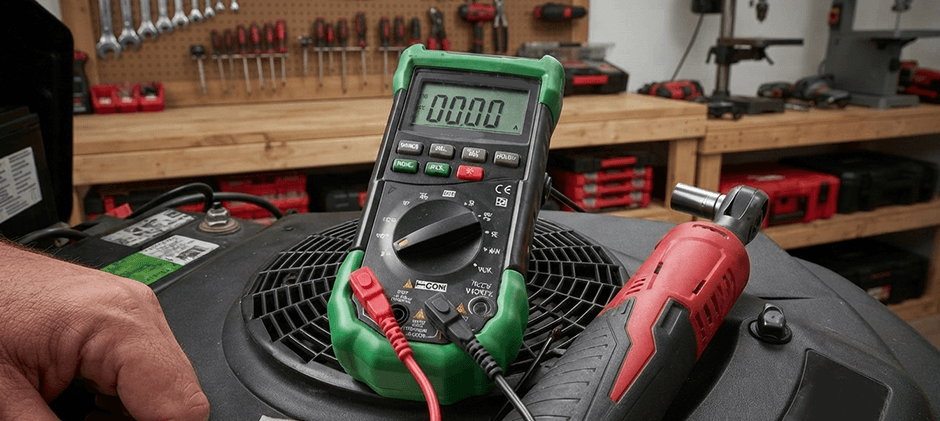
Signs of Parasitic Battery Drain
Signs of parasitic draw are often confused with a bad battery or faulty alternator. But if you see this pattern, parasitic drain is likely to blame:
- Battery keeps going dead: You charge or jump-start your tractor, it works well, but the battery dies again before your next use.
- Trouble continues even with a new battery: If you bought a new battery and still face the same issue, parasitic draw is almost certainly the problem.
- Charging system tests good: You checked the alternator, and it charges the battery properly while the engine runs.
- Starts well after use, fails after sitting: The tractor fires up easily right after you operate it, but won’t start once it sits idle for a day or longer.
If this matches what you’re dealing with, you can track down the power leak on your own using a multimeter and a careful, step-by-step process.
How to Test for Parasitic Draw with a Multimeter?
You’ll be working around the battery, so always wear safety glasses and gloves. Park the machine on level ground and set the parking brake. This test is simple, but you need to follow each step carefully. Tools you need:
- Digital multimeter (supports DC current readings of at least 10 Amps)
- Basic hand tools (wrenches to disconnect the battery terminal)
- Operator’s manual or fuse chart (if you have one)
Step 1: Get Ready and Check the Basics
Start with a fully charged battery. A battery that’s only half charged will give wrong test results. If possible, get a load test done at a parts shop to confirm the battery is in good shape and holds charge. A bad battery can create symptoms that look just like parasitic draw. Also double-check that your alternator works properly — there’s no point running this test if the battery doesn’t charge as it should.
Once you know the battery is good and fully charged, park the machine, shut off the engine and take out the key. Turn off all lights and accessories, including the radio, work lights and warning beacons.
Step 2: Set Up Your Multimeter to Measure Current
- Making a mistake here can blow the multimeter’s internal fuse. Turn the digital multimeter to its highest DC Amps range, normally marked 10A or 20A.
- Check the probe ports on the meter. The black lead stays in the COM socket. For this test, move the red lead into the separate Amps port, usually labeled 10A or 20A.
- Next, carefully disconnect the negative (-) battery cable from the battery terminal.
Step 3: Connect the Multimeter in Series
With the negative cable disconnected, you will now place the multimeter “in-line” or “in series” to measure all the electricity flowing out of the battery.
- Attach one of the multimeter probes (it doesn’t matter which one) securely to the negative battery post you just exposed.
- Attach the other multimeter probe to the disconnected negative battery cable terminal.
- You have now created a bridge. All power flowing from the battery to the tractor’s electrical system is now running through your multimeter. The meter will display the total amount of current being drawn while the tractor is “off.”
Step 4: Wait and Check the Power Draw
The meter may show a high reading right after you connect it. This is normal, as electronic control modules need several minutes to switch into sleep mode. Let it sit 15 to 30 minutes until the number steadies at its lowest value. Older basic equipment without advanced electronics will settle down almost immediately.
Modern equipment with onboard computers normally has a resting draw of 0.02 to 0.05 Amps (20–50 milliamps). For simpler older machines, the reading should sit nearly at zero. If the stable measurement goes above 0.05 Amps (50 milliamps), you’ve found a parasitic draw.
Step 5: Find the Faulty Circuit
Now you’ve confirmed there is a power drain, and you need to track down which circuit is to blame. The easiest method is removing fuses one by one.
- Keep the multimeter connected and showing the current draw, then find your equipment’s fuse box.
- Take out one fuse at a time and watch the multimeter reading.
- If pulling a fuse makes the current drop sharply (for example, from 0.40A down to 0.02A), you’ve located the problematic circuit.
- If the reading stays the same, reinstall the fuse and test the next one.
- Once you find the right fuse, check the operator manual or the diagram on the fuse box cover. It lists all parts running on that circuit, such as radio, work lights or accessory power ports.
Step 6: Pinpoint the Broken Component
Locating the circuit makes great progress, but you might need to keep troubleshooting. For instance, if the fuse controls work lights, the issue could be a defective switch, faulty relay or a damaged light unit. Unplug each part on this circuit one after another. When the power drain vanishes, you’ve found the faulty component. Common causes on heavy equipment:
- Aftermarket add-ons such as radios or GPS units wired straight to the battery
- Failed alternator diodes that leak current even when the machine is powered down
- Stuck switches or relays that remain active
- Damaged wire insulation creating a short to the machine frame
Conclusion
Tracking down a parasitic battery drain takes patience, but it’s a job you can handle. With a multimeter and a step-by-step approach, you can find the problem and fix it. If you need compatible replacement parts, check out FridayParts.
