How-tos

Access step-by-step repair and maintenance guides to keep your off-road equipment running smoothly with our expert tips!

All

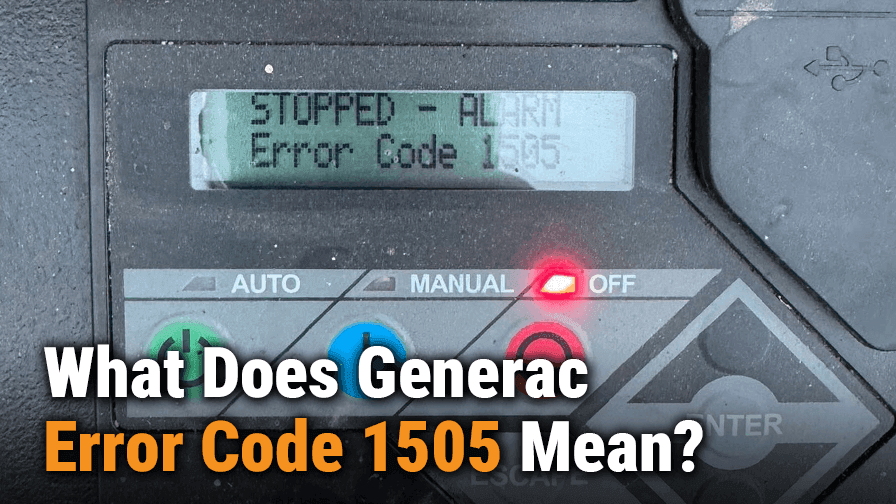
Generac Error Code 1505: RPM Sense Loss
Oct 2, 2026

Generac Error Code 1505: RPM Sense Loss

Generac error code 1505 indicates an RPM sense-loss fault, meaning the controller can’t detect the engine’s rotation speed during cranking. Discover how to troubleshoot the battery, starter, and wiring to clear this alarm.
6.7 Cummins Oil Capacity Chart: Full Guide by Model Year
Oct 2, 2026

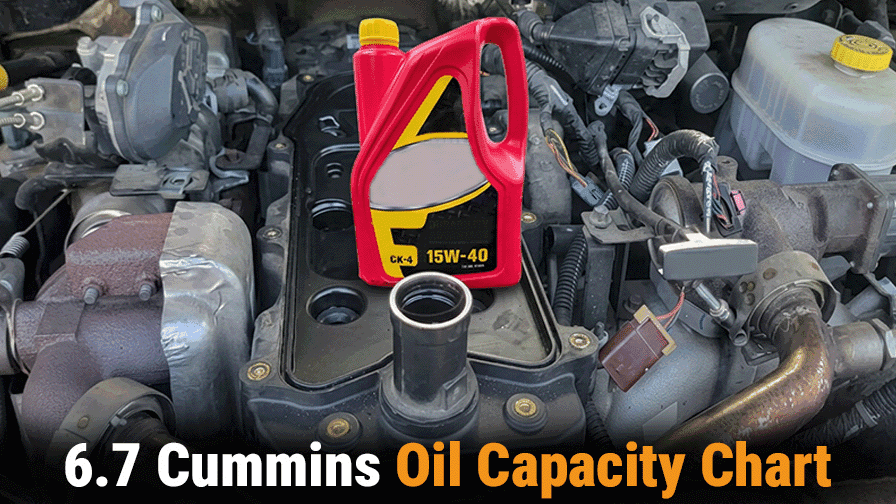
6.7 Cummins Oil Capacity Chart: Full Guide by Model Year

6.7 Cummins oil capacity chart: full guide by model year. The short answer is 12 quarts with a filter change on a stock pan. Drain only without pulling the filter and expect about 11 quarts. Roughly a quart stays behind in the filter and upper galleries. Every generation from 2007.5 through 2025 holds 12 quarts with a filter. Aftermarket high-capacity pans hold 14 to 15 quarts. The commercial B6.7 engine holds 16 quarts with a standard pan or 19.5 quarts with a high-capacity pan. Do not confuse those numbers with the Ram pickup fill. Pre-filling the filter cuts down the dry-crank window. When you do that, the crankcase pour ends up slightly under 12 quarts. Check the final level with the dipstick. Fill in stages. Pour 10 quarts to start. Run the engine for 30 seconds. Shut down and wait 10 minutes. Check the dipstick. Add slowly until you reach the MAX line. Overfilling causes foaming. Skipping the filter leaves contaminated oil in the system. Wrong specification shortens DPF life. Change intervals vary by model year and duty cycle. Severe duty covers most working trucks.

Carrier Reefer Alarms: What They Mean and What to Do?
Oct 2, 2026

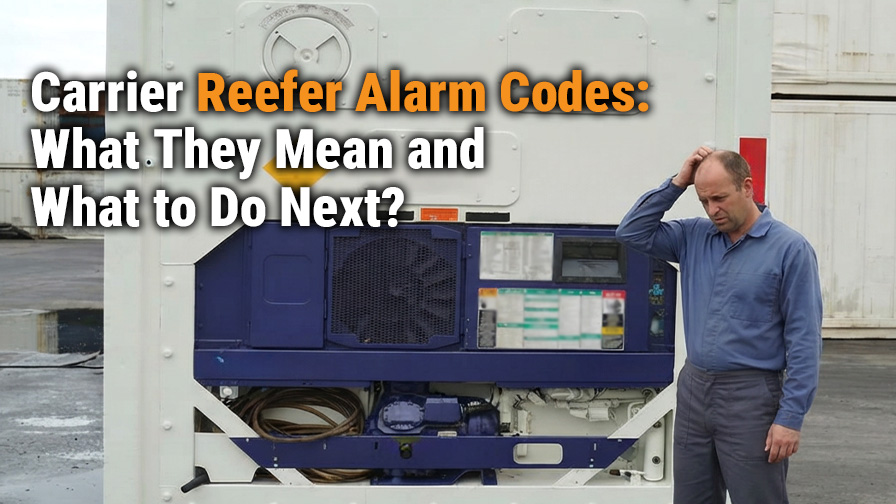
Carrier Reefer Alarms: What They Mean and What to Do?

Your Carrier reefer units are designed with multiple sensors, safety protections and a monitoring system. When something goes wrong outside the normal operating range, the controller generates an alarm code, which may reflect related issues, such as temperature deviations, sensor failures, power supply problems, compressor protection, airflow restrictions, defrost issues, communication failures and mechanical or electrical faults.

John Deere Compact Track Loader & Tractor Fuse Box Diagram
Oct 1, 2026

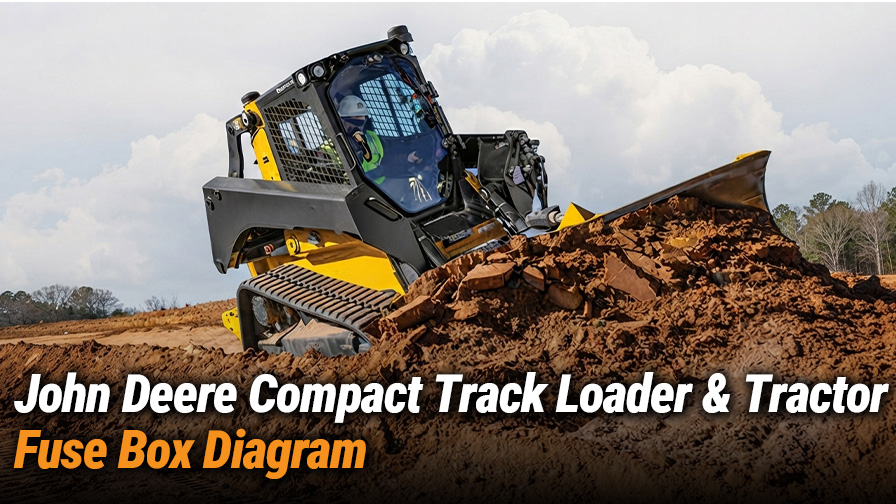
John Deere Compact Track Loader & Tractor Fuse Box Diagram

John Deere fuse box diagram pack for compact track loaders (333G, 331G) and tractor 5103. Includes grid and rectangular panel maps, fuse amperages and relay slots so operators can find blown fuses, match colors and restore equipment safely in the field.

Bobcat Hydraulic Hose Diagram Across Popular Skid Steer Models
Oct 1, 2026

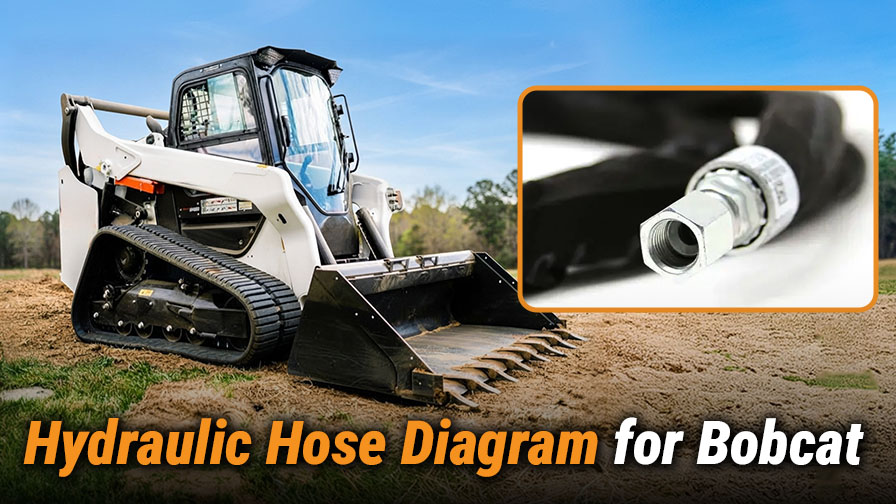
Bobcat Hydraulic Hose Diagram Across Popular Skid Steer Models

Bobcat hydraulic hose diagram across popular skid steer models. Bobcat hydraulic hose diagrams use circled numbers for individual hoses and letters for routing reference points. Once you understand the pattern, a leaking lift or tilt line can be swapped in about 20 minutes instead of turning into guesswork. Rod end hoses retract the cylinder. Bore end hoses extend it. Pivot hoses cross the arm pin and flex every cycle, so they wear fastest. Serial number matters because Bobcat changed fitting sizes and routing mid-production on several models. A hose that fits a 753F may not fit a 753G. Confirm the S/N before ordering. The 600 Series uses four numbered hoses. The 753 family uses five or six. The 853 uses five. The S550 and T630 share the same numbering. Before pulling the old hose, write down the serial number. Measure the fitting type and thread with calipers on both ends. Take overall length from sealing face to sealing face. Note bend radius and clamps. Match the pressure rating to the original 5000 or 5500 psi spec. Check for cover cracks, damp film, bulges near the crimp, and sluggish lift response. When fitting the new hose, wipe threads clean. Use a light coat of hydraulic oil on O-rings. Torque JIC fittings to spec. Overtightening cracks the flare. Cycle the loader through full lift and full curl at low idle after any hose change.

Briggs and Stratton Engine Oil Capacity Chart: A Complete Guide
Oct 1, 2026

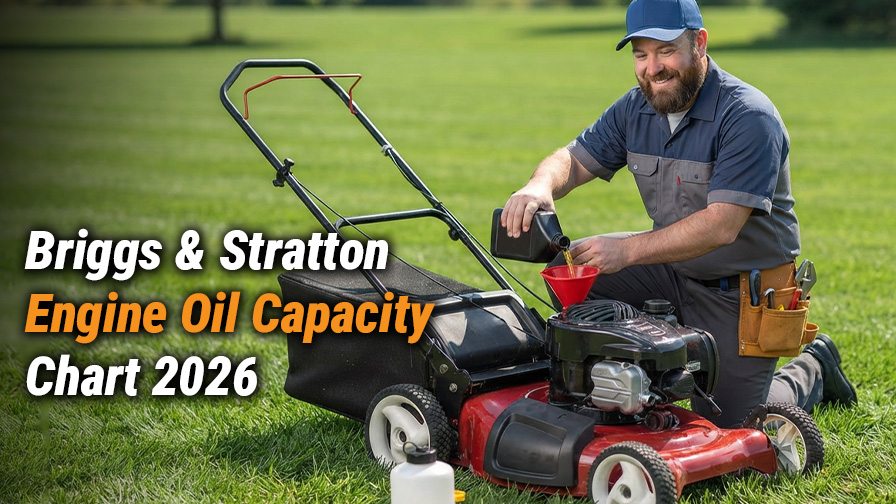
Briggs and Stratton Engine Oil Capacity Chart: A Complete Guide

Engine oil capacity is a critical factor to consider when selecting or changing the oil for your Briggs and Stratton engine. The appropriate engine oil capacity is typically 15 oz or 18 oz for walk-behind mowers and 48 oz or 64 oz for riding mowers. But what are the recommended oil type and capacity for a specific engine model? In this guide, we’ll walk you through the Briggs and Stratton engine oil capacity chart and how to choose and change the engine oil for your equipment running on B&S engines.

Generac Error Code 2800: Auxiliary Shutdown Fix Explained!
Sep 30, 2026

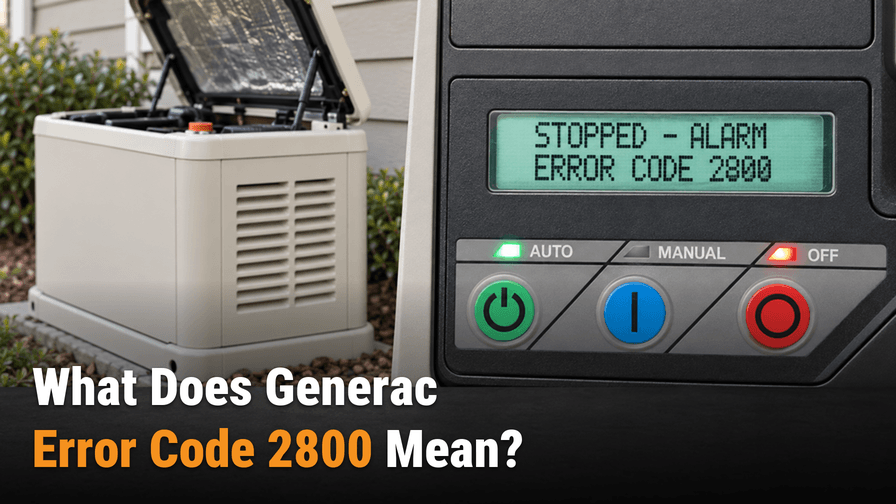
Generac Error Code 2800: Auxiliary Shutdown Fix Explained!

Generac error code 2800 indicates that your generator’s auxiliary shutdown switch has been turned off, disabling the engine. Read our quick guide to locate the external switch, flip it back on, and reset your control panel.

Which Way Does Chain Go on Your Stihl? A Complete Guide 2026
Sep 30, 2026

Which Way Does Chain Go on Your Stihl? A Complete Guide 2026

Stihl chainsaws are powerful tools for a variety of tasks, from felling trees to clearing brush. However, incorrect chain direction can lead to easy kickback and other serious damage to the woods and even you. When installing the new chain, make sure to keep the chain pointed in the clockwise direction for smooth operation. In this guide, we’ll delve into the intricacies of Stihl chainsaw direction and other useful knowledge you need to know with your Stihl chainsaw.

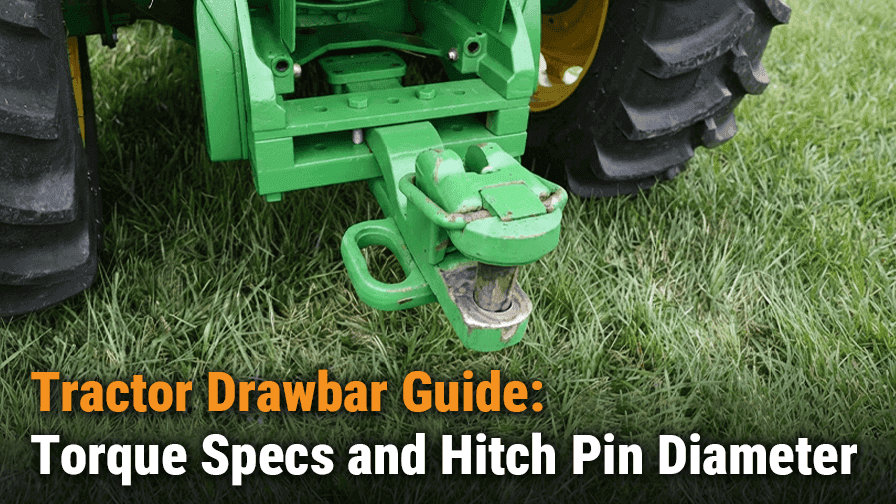
Tractor Drawbar Guide: Torque Specs and Hitch Pin Diameter
Sep 30, 2026

Tractor Drawbar Guide: Torque Specs and Hitch Pin Diameter

Tractor drawbar guide: torque specs and hitch pin diameter. Cat 3 pins measure 38 mm. Cat 4 pins measure 50 mm. Cat 5 pins measure 70 mm. Cap screw torque is 430 N·m for the mounts and 610 to 750 N·m for the hammerstrap. Match the pin, hitch link, and torque spec to the drawbar category. Mixing sizes bends pins and cracks links. An undersized pin shears under load. An oversized pin will not seat and wears the link bore oval. Do not grind, weld, or shim a pin to make it fit. Use an adapter kit instead. For a Category 4 hitch link on a Category 3 drawbar, the drawbar opening height must reach 90 mm. Torque in a crisscross pattern. Snug every fastener first. Then 50%, 75%, and full spec. Recheck after the first heavy pull.

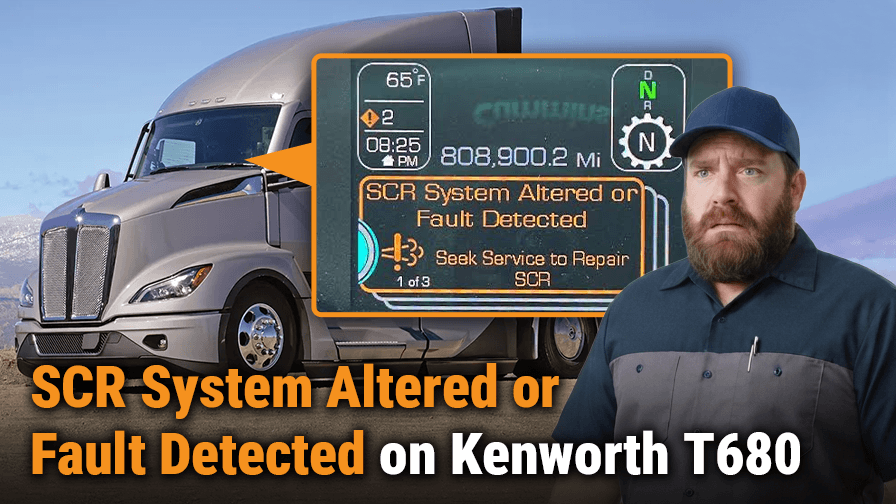
SCR System Altered or Fault Detected on Kenworth T680: A Complete Guide
Sep 29, 2026

SCR System Altered or Fault Detected on Kenworth T680: A Complete Guide

For years, SCR fault codes have been one of the most common reasons a Class 8 truck sits in a bay instead of on a route. A clean DEF, an accurate NOx sensor reading and a functioning ECM are all three things that determine how well the system goes. When any of those drifts, the ECM sets a code and starts a derate timer, and by the time the driver notices, the truck is already crawling at reduced power.

What Year Is My Troy-Bilt Mower? Serial Number Lookup
Sep 29, 2026

What Year Is My Troy-Bilt Mower? Serial Number Lookup

Perform a quick Troy Bilt serial number lookup to easily decode your equipment’s manufacturing year and category. This guide shows you exactly where to find the ID tag on push and riding mowers to buy correct parts.

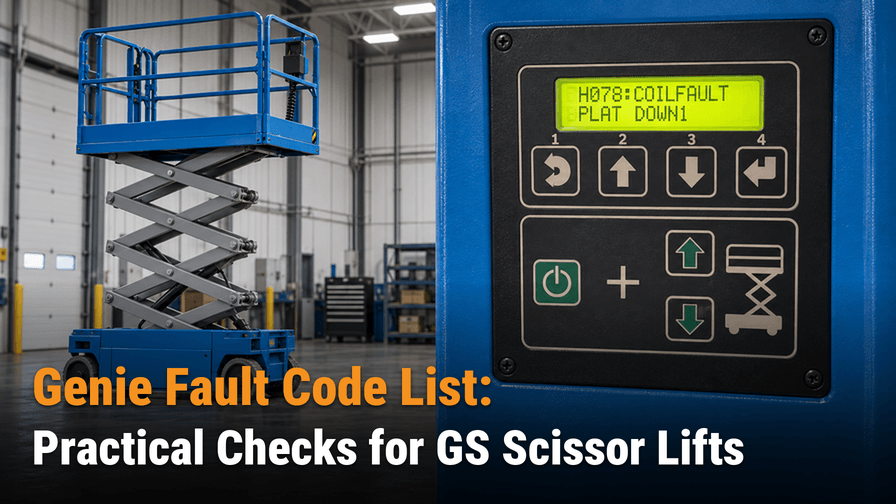
Genie Fault Code List: Practical Checks for GS Scissor Lifts
Sep 28, 2026

Genie Fault Code List: Practical Checks for GS Scissor Lifts

Genie fault code list: practical checks for GS scissor lifts. A good fault code list should lead you to the right circuit, not random parts swapping. On GS scissor lifts, many faults trace back to low battery voltage, coil circuit issues, joystick input problems, or broken control cables. Code 68 means low battery voltage, not overload. Code 02 usually points to a moving harness fault. Code 47 means the joystick is not returning to neutral. Codes 54 and 55 are lift coil faults. C021 means PCON not detected. Check the battery, wiring, and connectors before replacing modules. Start with the machine condition, then the power supply, then the moving harnesses.